Styled Printer
Entwicklung von NodeJS-Skripts für erweiterte Typografie auf Thermodruckern über Raspberry Pi.
Motivation
Die Idee war einfach: Personen sollten Nachrichten an einen entfernten Thermodrucker senden können, der an einen Raspberry Pi angeschlossen ist. Da die eingebauten Layout-Funktionen des Thermodruckers und seiner Bibliothek sehr begrenzt sind, wollte ich Funktionen wie benutzerdefinierte Schriften, professionelle Typografie, SVGs und mehr ermöglichen. Die Eingabe sollte über eine React-App mit einem Live-Chat erfolgen, der alle gesendeten Nachrichten anzeigt, während der Server die Nachrichten in einer Datenbank archiviert.
Features
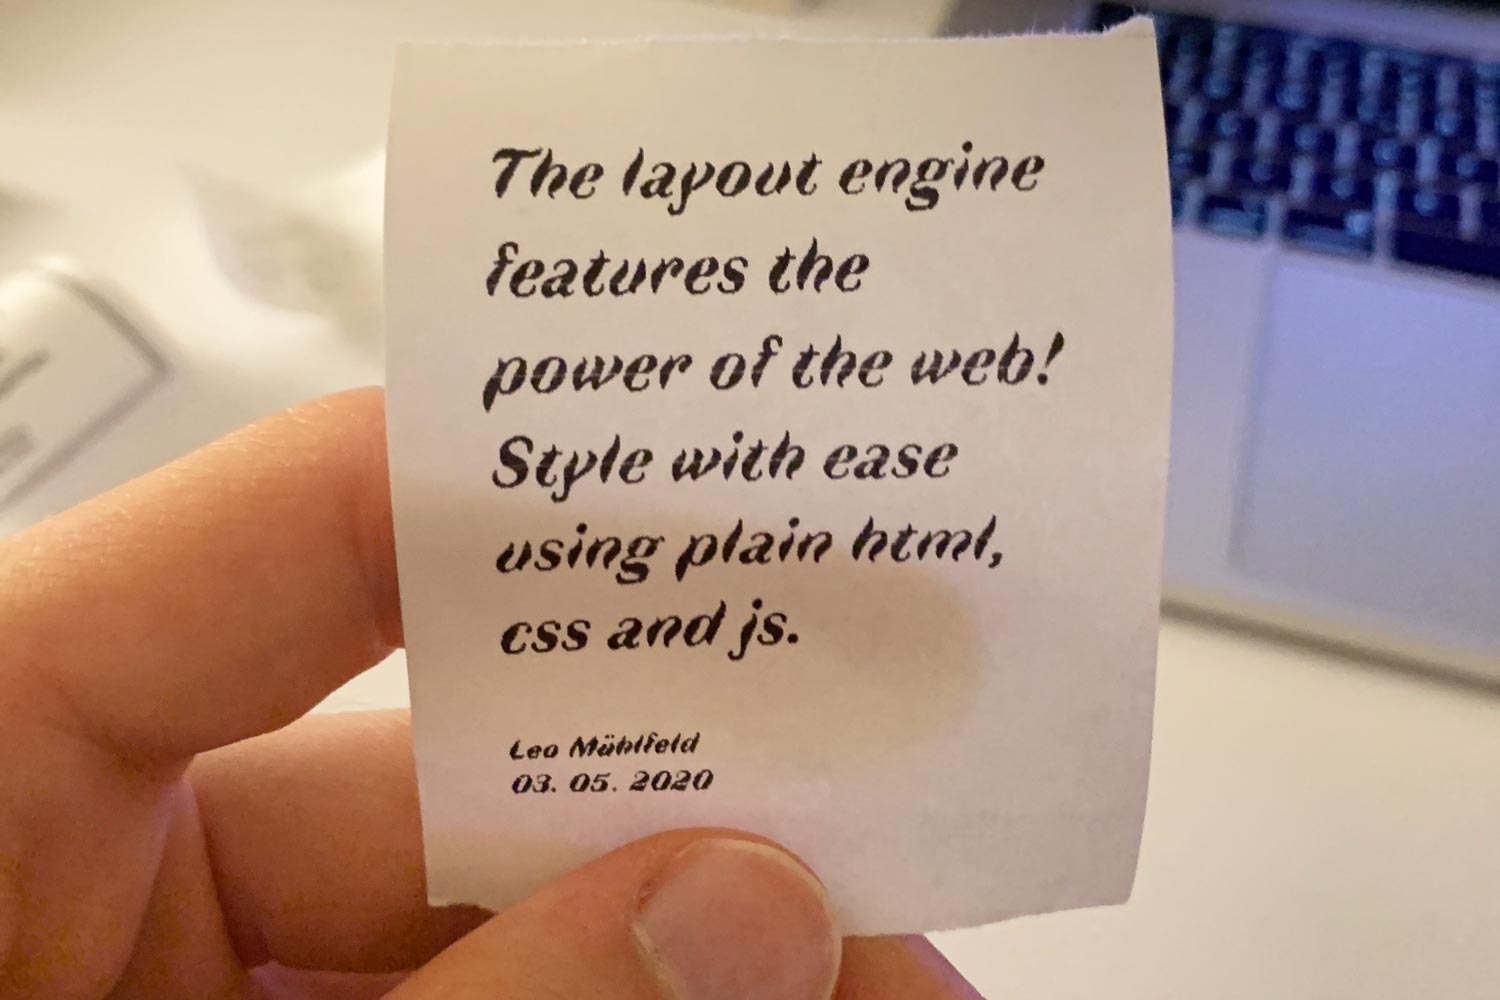
🎨 Benutzerdefinierte Layouts – Über Standard-Styling-Parameter hinaus
⚡️ React – Senden von überall über React-App mit Live-Feed
🐘 Postgres – Datenbankverbindung und Archivierung der Drucke
Frontend und Server
Eine Website bietet eine Eingabemaske und einen Live-Feed aller gedruckten Nachrichten. Der Live-Feed wird über einen Websocket geräteübergreifend in Echtzeit ermöglicht. Ein Server, beispielsweise auf Heroku gehostet, übernimmt die Kommunikation mit den Clients (sowohl Drucker als auch Web-Frontend auf verschiedenen Geräten) und speichert alle empfangenen Nachrichten in einer Postgres-Datenbank. Wenn eine neue Nachricht auf dem Server ankommt, wird sie an den Drucker, aber auch an alle anderen verbundenen Frontends gesendet. So haben alle einen Überblick über alle gedruckten Nachrichten.
Drucker
Der Drucker lauscht auf den Websocket und ruft bei einer neuen Nachricht einen headless Browser auf, der die Daten über Query-Parameter in der URL erhält. Diese Daten werden dann in eine gestylte HTML-Seite eingefügt, die anschließend mit pupeteer. als Screenshot erfasst wird. Das resultierende PNG-Bild kann über die Firmware des Thermodruckers gedruckt werden.
Credits
Dieses Projekt entstand bei der Entwicklung von owe.zone. Ursprüngliche Idee & große Hilfe von Timo Lins. Demo-Bild zeigt Faune Typeface von Alice Savoie / Cnap.


